ボイスチャットプログラム用の静的オブジェクトの作成
目次
概要
空オブジェクトの作成
MonobitViewコンポーネントの追加
新規スクリプトの追加
ボイスチャットを利用するための一連の制御を動かすためのオブジェクトを生成する
先に作成したボイスチャット用オブジェクトを使い、「サーバ接続→ルーム入室→ボイスチャット開始」を促すためのオブジェクトを作成します。
空オブジェクトの作成▲
スクリプト登録用のオブジェクトを作成する
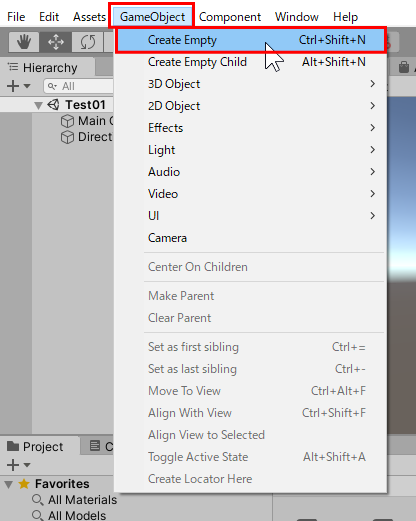
続けて、Unity のメニューから GameObject > Create Empty を選択して
スクリプト登録用の空オブジェクトを作成してください。
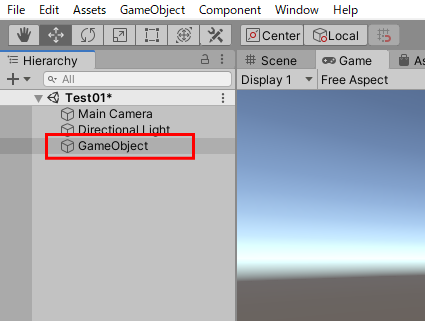
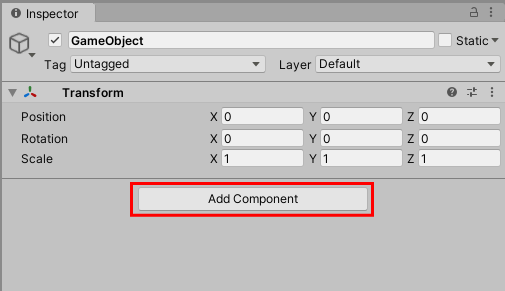
以下のように、Hierarchy に空のオブジェクト「Game Object」を作成します。
MonobitViewコンポーネントの追加▲
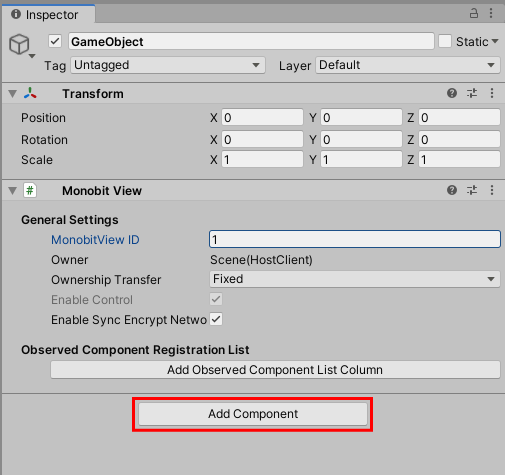
空のオブジェクトに MonobitView コンポーネントを追加する
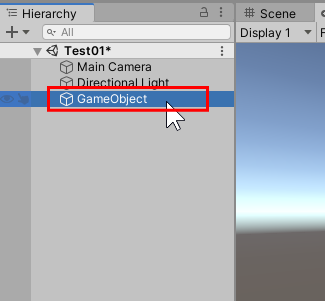
先ほど Hierarchy に作成された空オブジェクト「GameObject」をクリックします。
Inspector にある、[ Add Component ] のボタンを押してください。
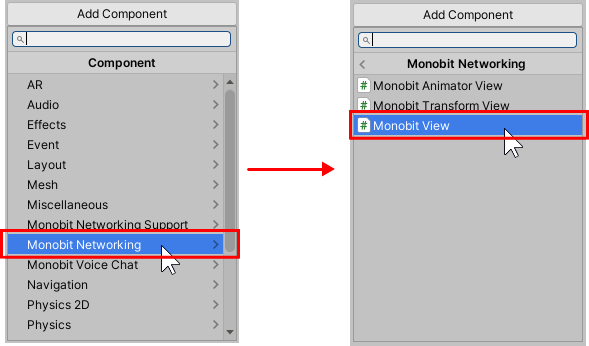
プルダウンメニューから Monobit Networking > Monobit View を選びます。
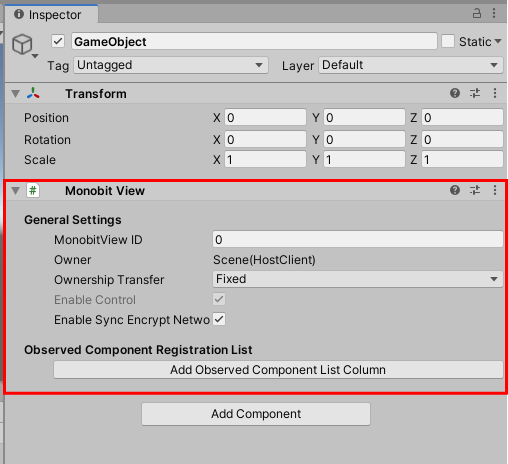
以下のように、Inspector に MonobitView が登録されます。
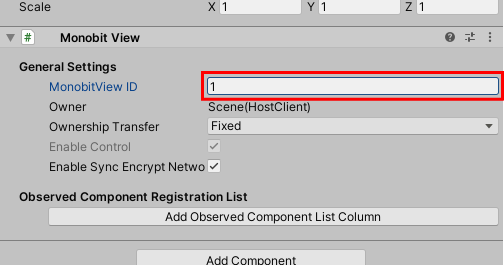
MonobitView ID を変更する
作成したMonobitViewに対し、IDを変更します。
※ デフォルト値は 0 ですが、シーン上に配置された静的オブジェクトの場合、
この値を 1~999 の範囲で設定する必要があります。
今回はこの数値を「1」に変更し、Enterで適用させましょう。
新規スクリプトの追加▲
空のオブジェクトに新規スクリプトを追加する
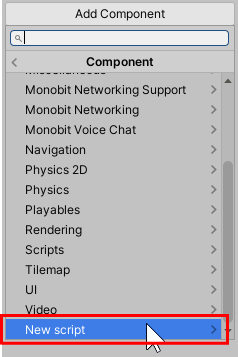
もう一度 Inspector にある、[ Add Component ] のボタンを押します。
プルダウンメニューから New Script を選びます。(メニューリストの一番下にあります)
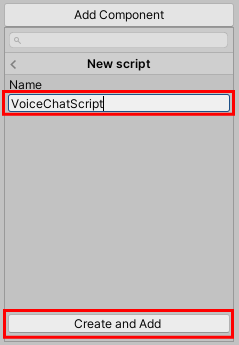
Name 欄に VoiceChatScript と入力し、[Create and Add] ボタンを押します。
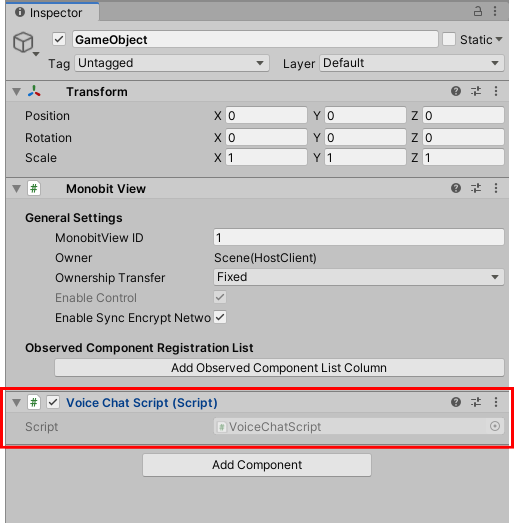
以下のように、Inspector に VoiceChatScript が登録されます。
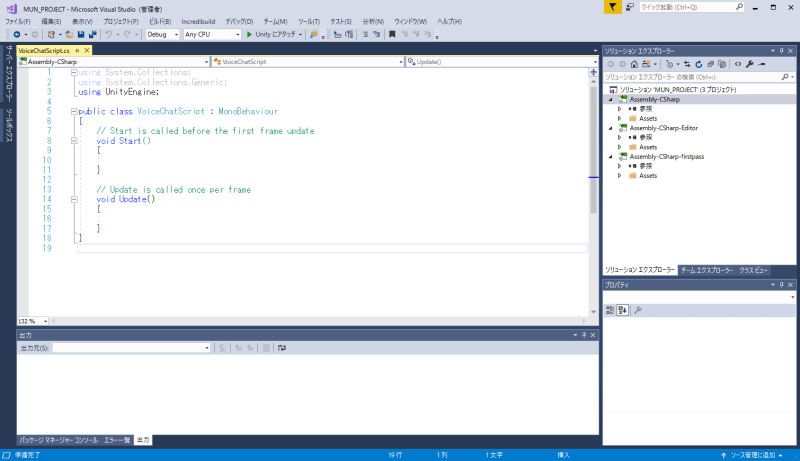
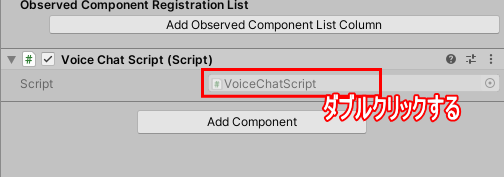
追加したスクリプトを開く
Inspector に追加された「VoiceChatScript」を開きます。
Inspector 内の Voice Chat Script の欄にある、以下の赤枠部分をダブルクリックしてください。
VisualStudio(またはMonoDevelop)が起動し、VoiceChatScript がテキストとして開きます。